How to Repot a Plant Without Setting It Back
· 4 min
In short: Repotting takes a few minutes, but timing, pot size and the right mix decide whether a houseplant surges ahead or sulks for weeks. Here is the gentle way to move it into a new home.
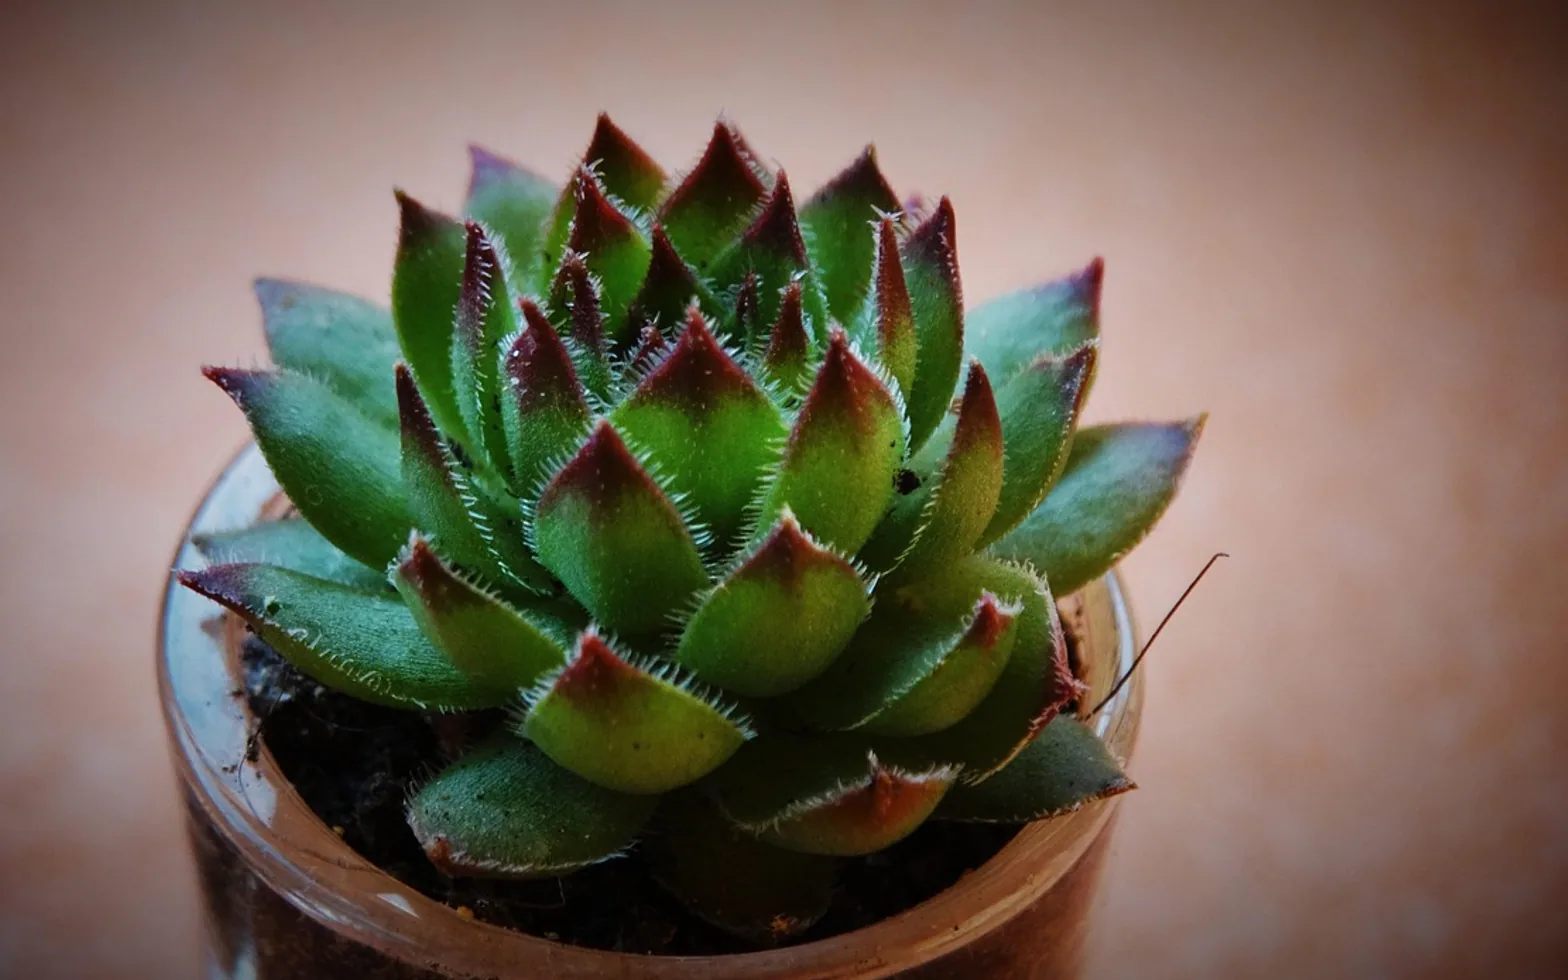
To repot a plant, water it the day before, ease it out of its old pot, loosen the outer roots, set it in a container only slightly larger with fresh potting mix at the same depth as before, then water thoroughly and keep it out of harsh sun for a week or so. The job itself is quick. Timing, pot size and the right mix are what decide whether the plant surges ahead or sulks for a month.
Signs a plant needs a new pot
- Roots poke out of the drainage holes or circle the surface of the soil.
- Water runs straight through and out of the bottom within seconds.
- The soil dries out far faster than it used to.
- The plant is top-heavy and tips over easily.
- Growth has stalled during the growing season despite good light and regular feeding.
- The mix has shrunk away from the sides or turned hard and crusty.
One sign alone is not always conclusive. Slide the plant out gently and look: if roots form a dense web around the root ball with little soil showing, it is time.
When to repot
The best moment is early in the growing season, which for most houseplants means spring into early summer. Roots grow actively then and recover quickly. Avoid repotting a plant that is in flower, has just been moved or is clearly stressed, unless the pot has cracked or the roots are rotting. In winter most houseplants grow slowly, so any disturbance takes longer to heal.
Choosing the pot
Go up just one size, roughly two to five centimetres wider than the current pot. A container that is far too big holds more wet soil than the roots can reach, and that soggy volume invites rot. Drainage holes are essential; if a decorative pot has none, use it as an outer cover and keep the plant in a plastic nursery pot inside it.
Material matters as well. Terracotta breathes and dries quickly, which suits succulents, cacti and anyone with a heavy hand on the watering can. Glazed ceramic and plastic hold moisture longer, which suits ferns and other thirsty plants.
Picking a potting mix
| Mix | Texture | Good for |
|---|---|---|
| General houseplant mix | Fine and moisture-retentive, often with some bark or perlite | Most leafy houseplants, pothos, peace lilies, ferns |
| Cactus and succulent mix | Gritty and fast-draining | Succulents, cacti, snake plants |
| Orchid bark mix | Chunky bark pieces with plenty of air | Epiphytic orchids and some aroids |
| Aroid mix | Loose blend of bark, perlite and coir or compost | Monsteras, philodendrons, anthuriums |
Avoid garden soil indoors. It compacts in a pot, drains poorly and can bring pests into the house.
Step by step
- Water a day ahead. Moist roots slide out more easily and cope with handling better than dry ones.
- Prepare the new pot. Add a layer of fresh mix so the top of the root ball will sit about two centimetres below the rim.
- Remove the plant. Turn the pot on its side, support the base of the stems and squeeze or tap the pot until the root ball slides free. Run a blunt knife around the inside edge if it sticks.
- Tease the roots. Gently loosen circling roots with your fingers. Trim any that are black, mushy or smell sour.
- Position and fill. Set the plant at the same depth it grew before, then fill around it with mix, firming lightly as you go rather than packing it hard.
- Water thoroughly. Water until it runs from the base, let it drain fully and top up any mix that settles.
Gloves are sensible for plants with irritating sap, such as euphorbias, and it helps to keep curious pets away from the work area, since some common houseplants are harmful if chewed.
Aftercare
Keep the plant in bright, indirect light for a week or two and hold off on fertiliser for about a month; fresh mix usually carries some nutrients, and damaged roots scorch easily. A little drooping in the first days is normal. Water when the top layer feels dry rather than on a fixed schedule.
Repotting a snake plant
Snake plants tolerate crowded roots and often do best in a snug pot, so repot only when the rhizomes start to bulge or crack the container. Use a gritty, fast-draining mix and a heavy pot, because mature plants are top-heavy. This is also a good moment to divide them: cut the rhizome into sections, each with leaves and roots, and pot them separately. Their needs overlap with the advice on watering succulents, since both rot quickly in soggy soil.
Mistakes that set plants back
- Jumping several pot sizes at once.
- Burying the stem deeper than it grew before.
- Using a cover pot with no drainage and letting water pool in the bottom.
- Feeding straight after repotting.
- Repotting to rescue a plant whose real problem is light or watering.
Old soil and offcuts
Spent potting mix can go on a garden compost heap or be worked into outdoor beds, provided the plant was free of pests and disease. A big spring repotting session alongside garden pruning can produce a surprising amount of material, and for larger clear-outs this overview of container rentals for green waste explains the options. Healthy cuttings can become new plants or gifts, a living alternative to the arrangements described in how online flower shops personalise their bouquets.
Making it stick
Ways to keep seasonal jobs from piling up
Ideas for turning a long list into a habit that lasts the whole year.
Tie jobs to dates you already know
Changing the clocks or the first school week makes a handy reminder for alarms, filters and descaling.
Keep supplies in one caddy
A single box with gloves, cloths, baking soda and vinegar means no hunting before you start.
Share the list
Pin it inside a cupboard door so everyone at home can tick off a task.
Stop at two
Doing two jobs and stopping keeps the routine pleasant enough to repeat next month.
Got a topic idea?
We read every message.